IKEA DIY Nightstand Flip
Shop This Post

After taking my first trip to our local Restoration Hardware gallery, I walked away immediately inspired. RH showcased so many design elements that I want to incorporate into my home, such as layered lighting and large-scale textured art.
The first one I wanted to tackle, however, was larger nightstands! We had recently upgraded to a king-size bed and our bedside tables felt so disproportional. Upon looking for a set of new nightstands, I found some great RH dupes! BUT, I still was not fond of the $300+ price tag that accompanied each find of the size I wanted. So, feeling crafty (and broke) I looked into the DIY route. And let me just say, God bless IKEA!
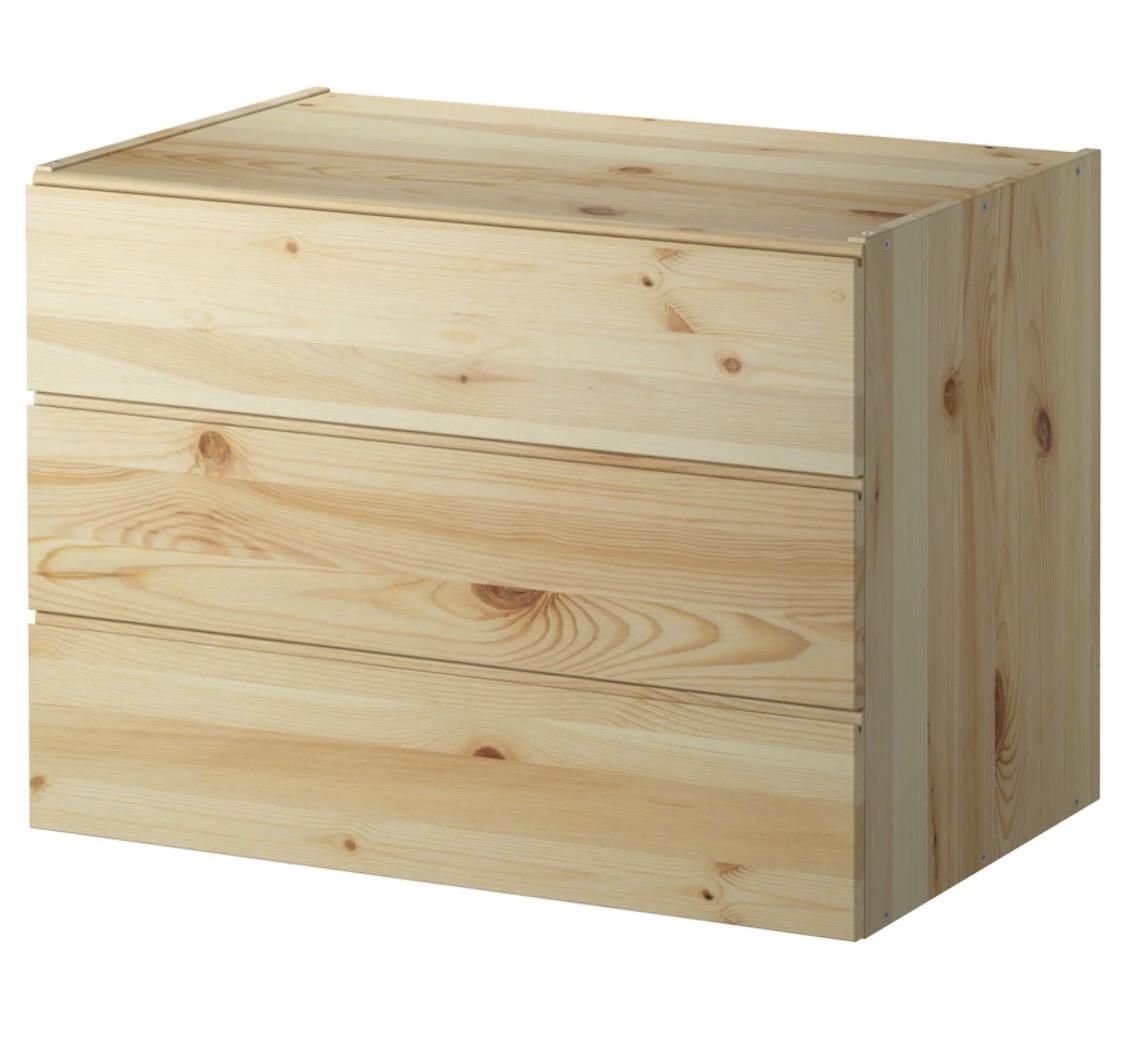
I knew I wanted wood as the material so I can stain it instead of paint. After a quick browse on Ikea’s website I settled on the Ivar 3-drawer dresser. Since they were discontinuing the exact model I purchased, I was able to snag them at a discounted price of $70 each (originally $95)! Don’t worry though, they still have a fantastic selection of pine furniture to choose from!
See below for the steps and materials I used for this transformation. It was SO easy (finished both in one night) and we saved so much money by going the IKEA DIY route!
Materials Needed
- Unfinished Pine IKEA Dresser (x2)
- Sand Paper – 150 grit, 180 grit, 220 grit, 400 grit
- Wood Conditioner
- Wood Stain – Classic Gray & Early American
- Old T-Shirt or Staining Rag
- Polyurethane Wood Finish
- Drawer Hardware

Directions
- Follow (struggle through) the IKEA instructions to build the furniture piece. Yell & cuss as needed until finished.
- Sand down EVERY exterior side of the piece (you can skip the bottom) going with the grain. Pine is a soft wood and will take the stain unevenly if proper prep steps are not taken.
- Start with the lowest grit (150) and work up to the highest. The lower grits will even out larger scuffs while the higher grit will act as the finishing touch. Take your time with the sanding and ensure you don’t miss any spots. I hand-sanded but you can use an electric sander to speed up the process a bit!
- If your wood seems rougher, you can start with 120 grit and work up.
- Adding the 400 grit in may seem like overkill, but IKEA pine isn’t exactly the highest of quality. I wanted to take all the extra steps possible to ensure an even stain application.
- Wipe down the piece with a lightly damp cloth in between each grit to remove the dust.
- Start with the lowest grit (150) and work up to the highest. The lower grits will even out larger scuffs while the higher grit will act as the finishing touch. Take your time with the sanding and ensure you don’t miss any spots. I hand-sanded but you can use an electric sander to speed up the process a bit!
- Generously apply wood conditioner going with the grain. DO NOT SKIP THE WOOD CONDITIONER! This is another vital step to staining pine. The conditioner will help the stain absorb evenly and avoid splotches. Wipe off the conditioner after 5-15 minutes.
- The fun part – apply your stain! I wanted to go for a mid-toned neutral color for my finish so I mixed 2 together. To apply the stain, I like to use an old cut up t-shirt, such as the white Hanes undershirts.
- Going with the grain, I applied the Early American first. I try to keep a light hand while staining to avoid the color getting too dark.
- After wiping off the Early American, I went in with a layer of the Classic Gray to knock down some of the warmth.
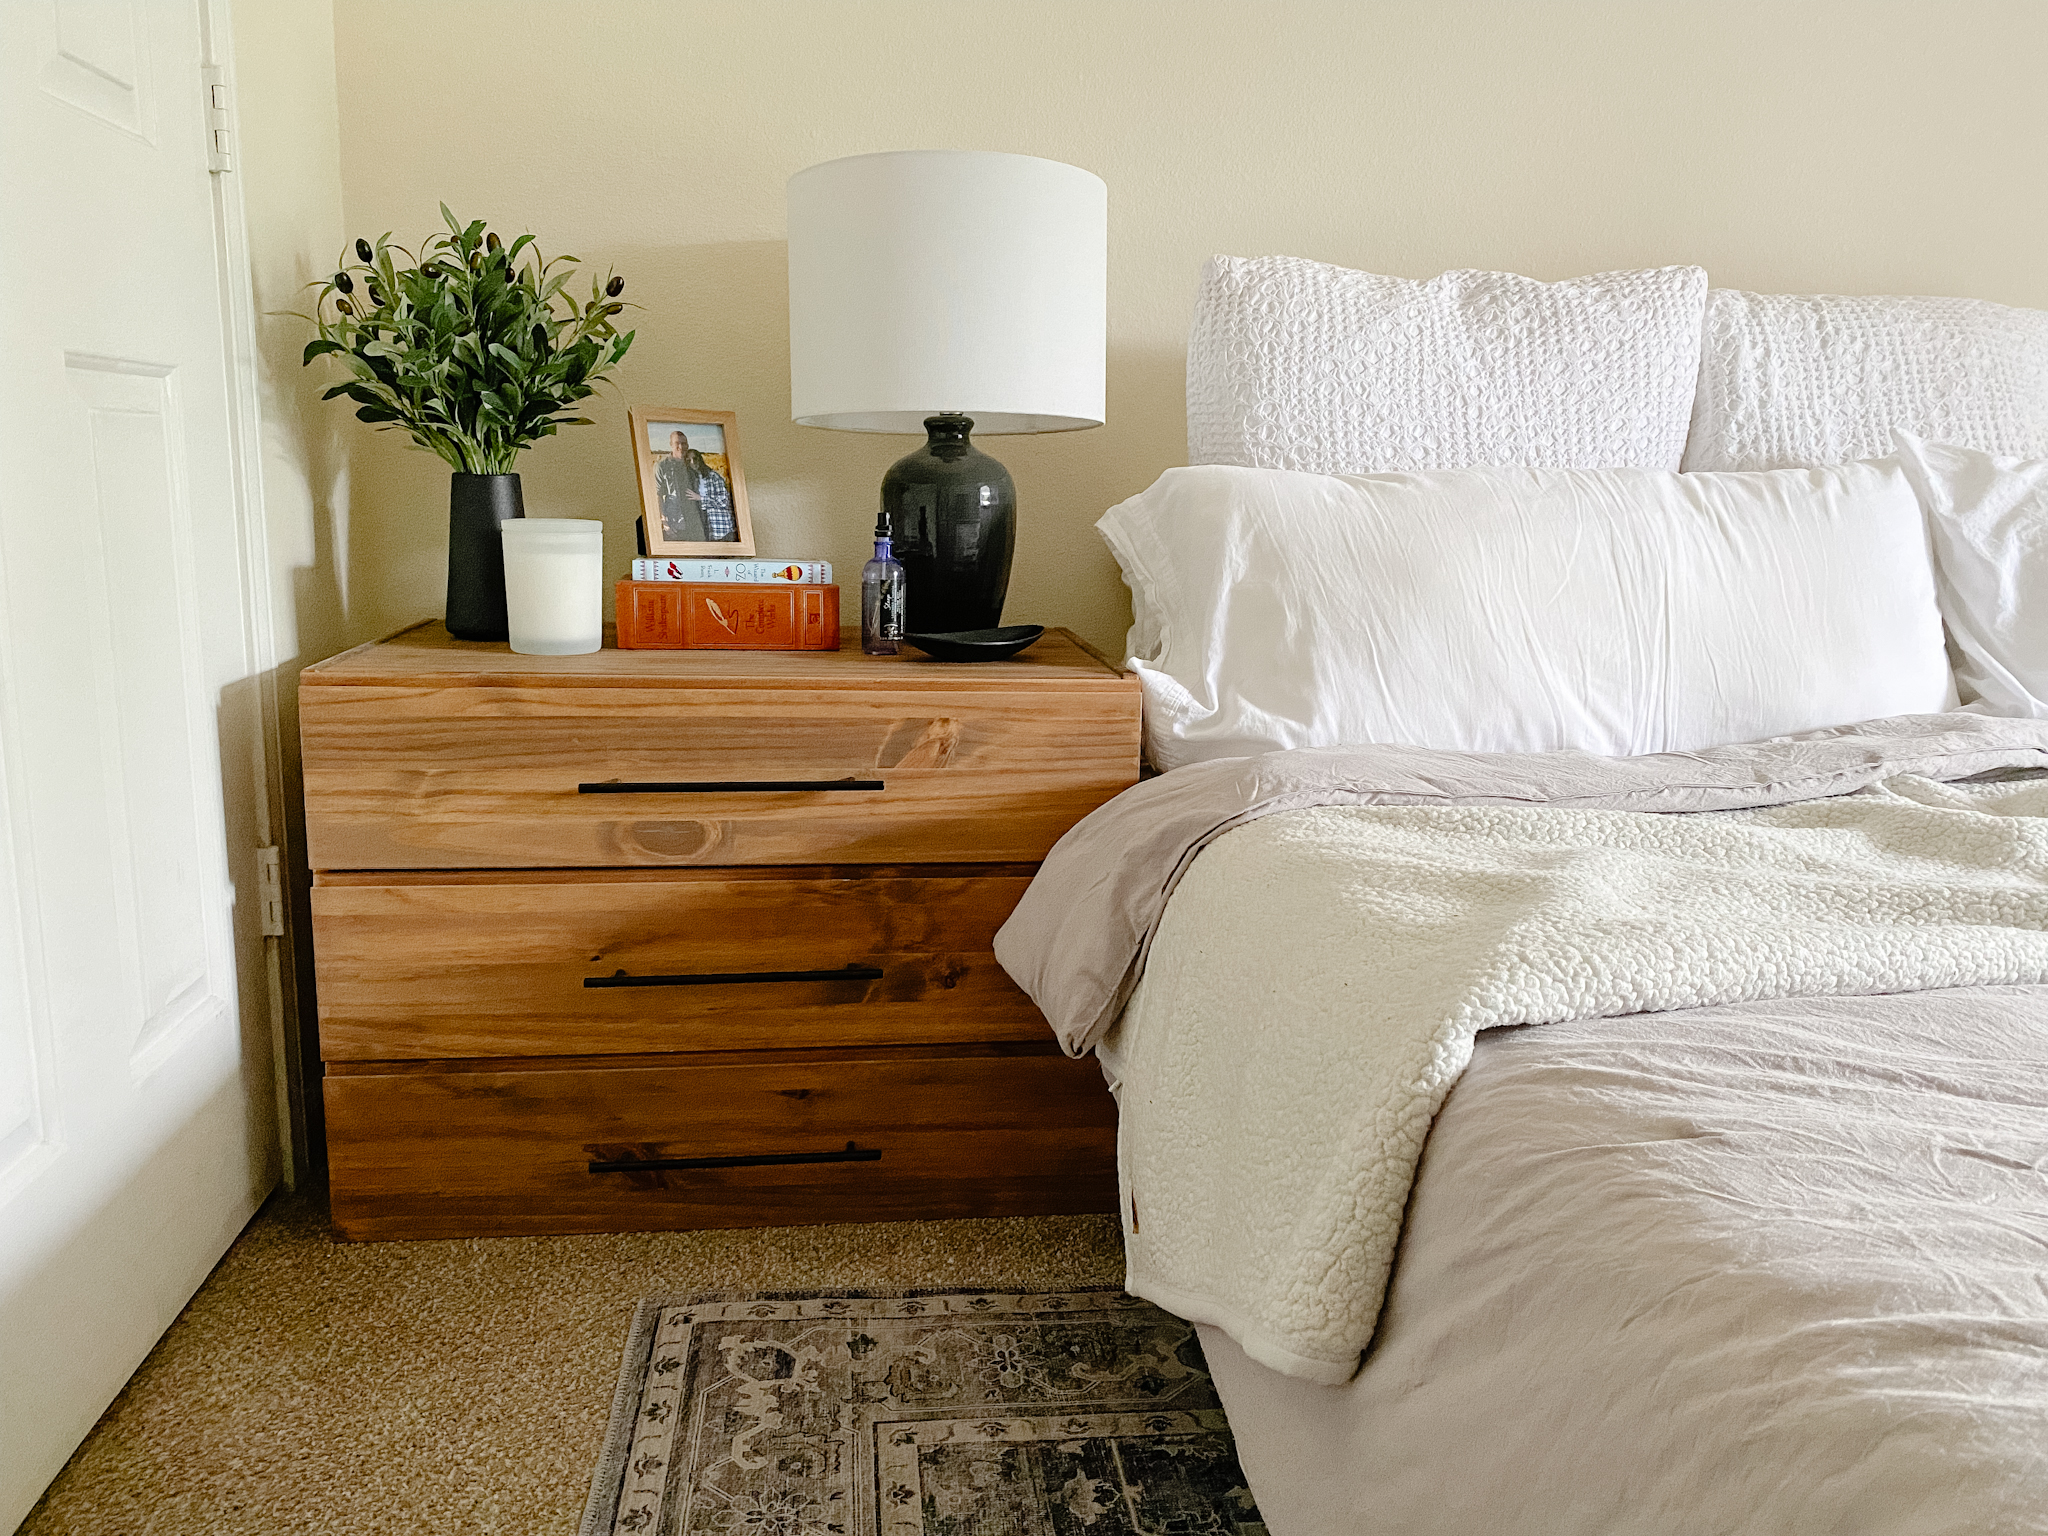
- There were some pretty strong grey streaks running through the grain so I went back in with a VERY light layer of the Early American. I was left with exactly the color I was hoping for!
- I forgot to buy it at the time, but this is the step in which you will apply your finishing polyurethane! We have not had any issues with the quality of our dressers from skipping this step but ours have a very matte finish. So, if you’re into a satin or gloss finish this is where you’ll get the shine from!
- I prefer water-based poly’s as they do not yellow over time like the oil-based ones do. However, if you used an oil-based stain and are opting for the water-based poly, you MUST wait until the stain is 100% completely dry!
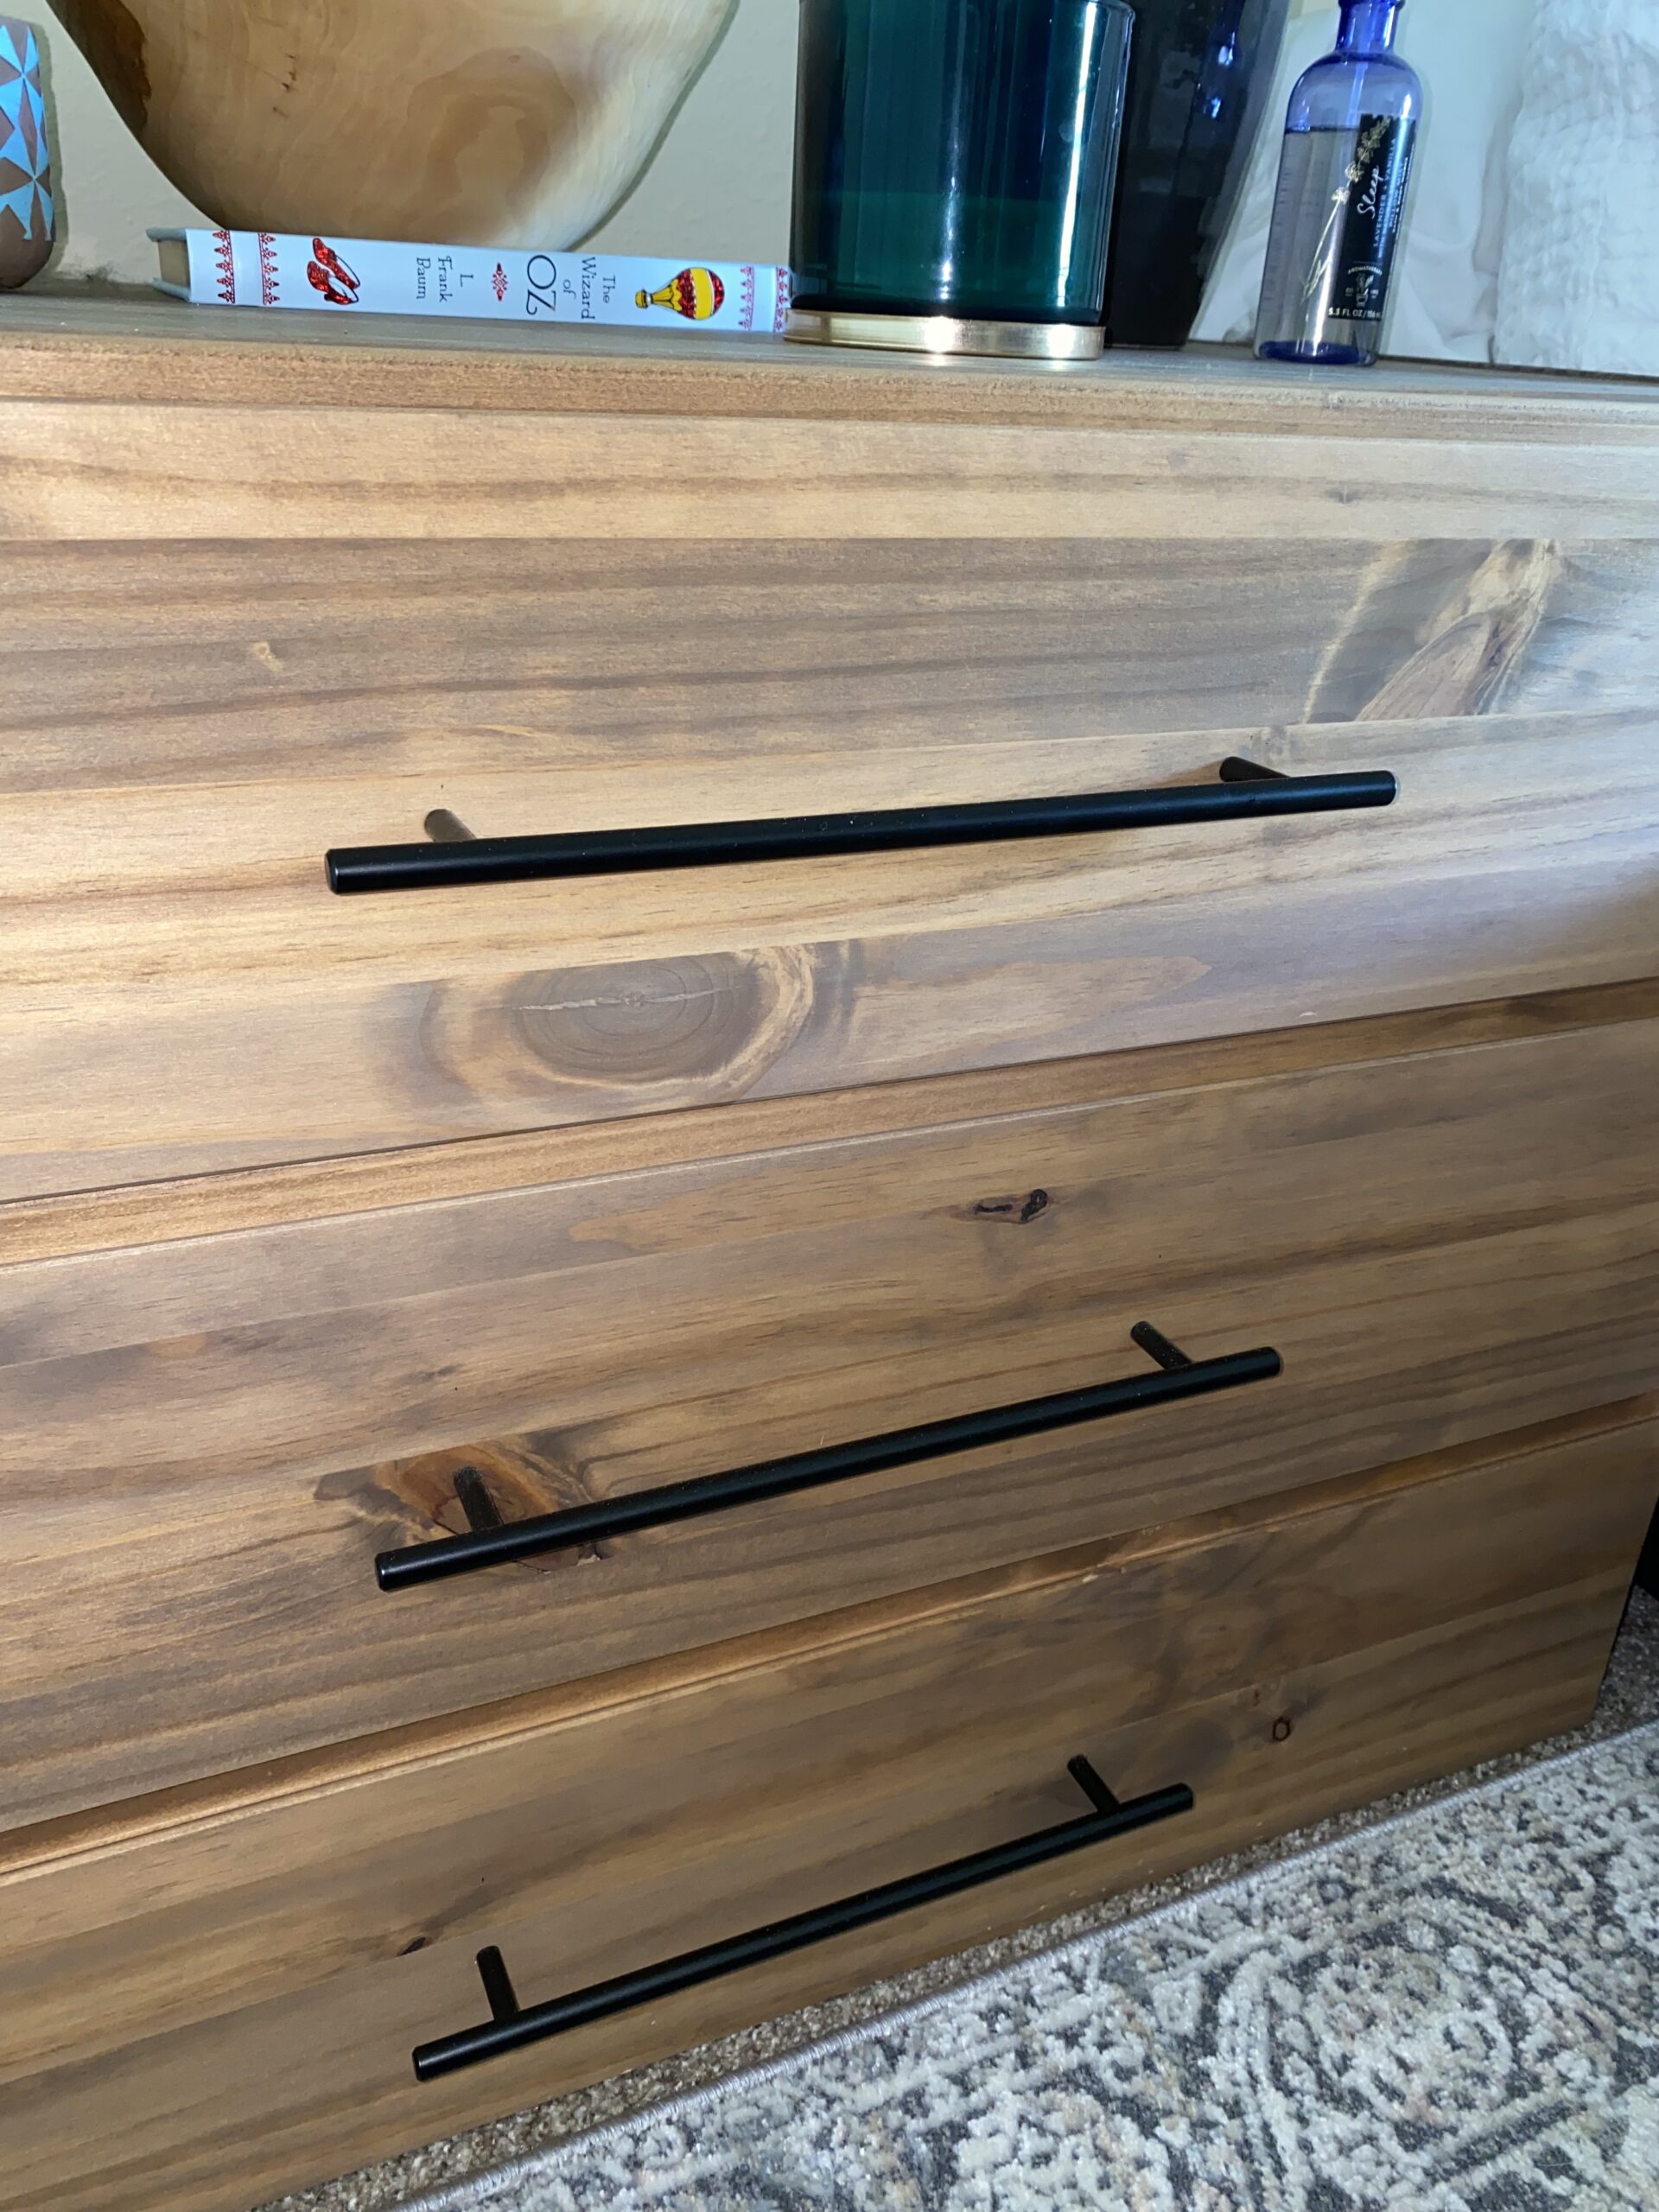
- Add your hardware and you’re in business!
- I opted for these drawer pulls from Amazon. Simple and sleek, but the length of them really gives it more of that RH feel!
I absolutely loved how this IKEA DIY project turned out. It cost us less than $200 for the pair and truly elevated our bedroom space!
More From This Category
No Results Found
The page you requested could not be found. Try refining your search, or use the navigation above to locate the post.
No Results Found
The page you requested could not be found. Try refining your search, or use the navigation above to locate the post.
No Results Found
The page you requested could not be found. Try refining your search, or use the navigation above to locate the post.


What a fun and quick weekend (or weeknight) project to help piece together a room AND save $$$! I especially like the step where we “yell and cuss as needed” while putting together our IKEA furniture. ???? Thanks for sharing! Can’t wait to see what you tackle next.
THANK YOU! 🙂 We were not shy with the cussing step in this household lol.